Pumpkins are the quintessential symbol of fall, with their vibrant hues and delicious flavors gracing everything from pies to lattes.
But when it comes to carving pumpkins for Halloween or cooking with fresh pumpkin, many people dread the messy task of separating the seeds from the pulp.
However, with the right technique, extracting pumpkin seeds can be effortless and enjoyable.
In this guide, we’ll walk you through the simple steps to effortlessly extract pumpkin seeds from the pulp, ensuring you can enjoy this nutritious snack without the hassle.
Why Save Pumpkin Seeds?

Before diving into the methods, it’s worth noting why you should save those seeds in the first place.
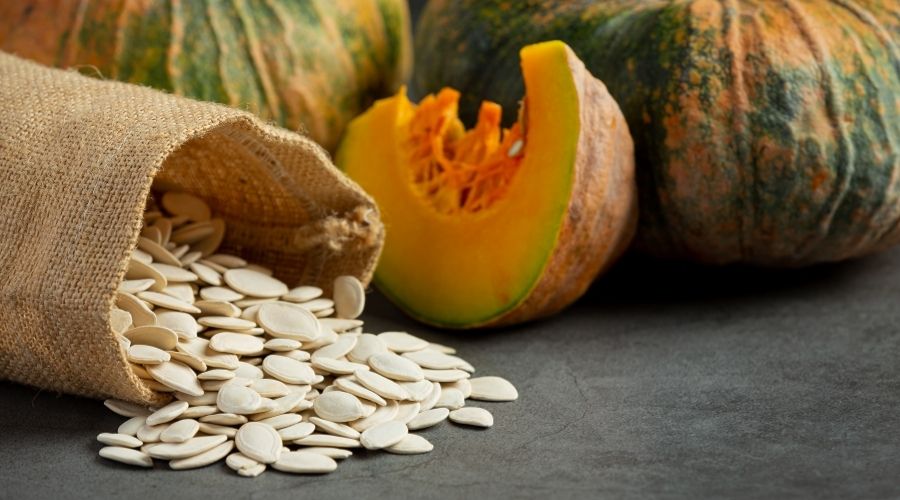
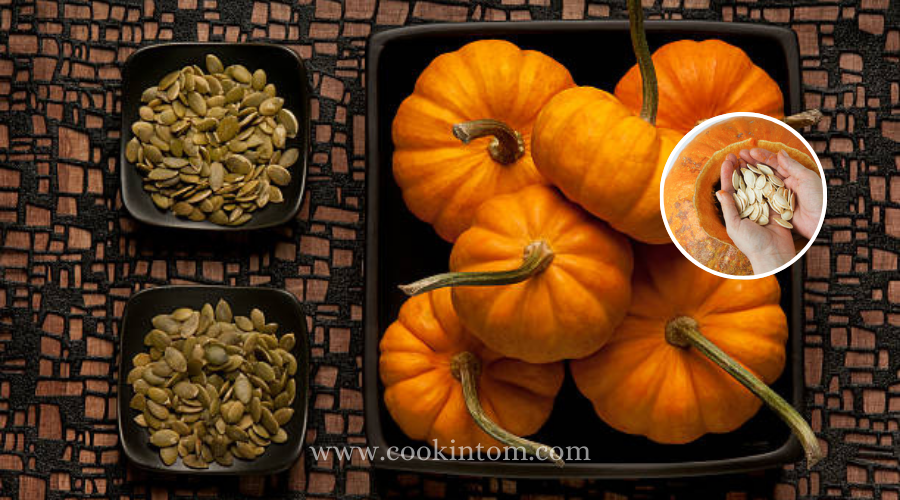
Pumpkin seeds, also known as pepitas, are not only tasty but also packed with nutrients. They make a great snack when roasted, can be added to salads for a crunch, or even incorporated into baking recipes.
Plus, saving and roasting your own seeds is a fantastic way to reduce waste and get more value from your pumpkin.
Step-by-Step Guide to Separating Pumpkin Seeds from Pulp

Separating pumpkin seeds from the pulp can be a messy task, but with the right approach, it can be easy and even enjoyable.
Here’s a detailed, comprehensive guide to help you through the process.
1. Gather Your Tools
Before you begin, it’s important to have all your tools ready. Having everything on hand will make the process smoother and less messy.
- Sharp Knife: For cutting the pumpkin.
- Large Spoon or Ice Cream Scoop: To scoop out the seeds and pulp.
- Large Bowl: To collect the seeds and pulp.
- Colander or Strainer: For rinsing the seeds.
- Paper Towels or Clean Dish Towel: For drying the seeds.
- Baking Sheet: If you plan to roast the seeds.
- Water: For rinsing and separating the seeds.
2. Prepare the Pumpkin
Start by selecting a ripe pumpkin. Whether you’re carving a jack-o’-lantern or using the pumpkin for cooking, the steps are essentially the same.
- Cut the Pumpkin: Using a sharp knife, cut off the top of the pumpkin to create an opening. If you’re cooking with the pumpkin, you might prefer to cut it in half or into quarters.
- Scoop Out the Contents: Use a large spoon or ice cream scoop to remove the seeds and pulp. Scoop everything into a large bowl. It’s okay if the seeds and pulp are still mixed together at this stage.
3. Separate the Seeds from the Pulp
Separating the seeds from the pulp can be done using one of two methods: water separation or manual separation.
Method 1: Water Separation

This method uses water to help separate the seeds from the pulp easily.
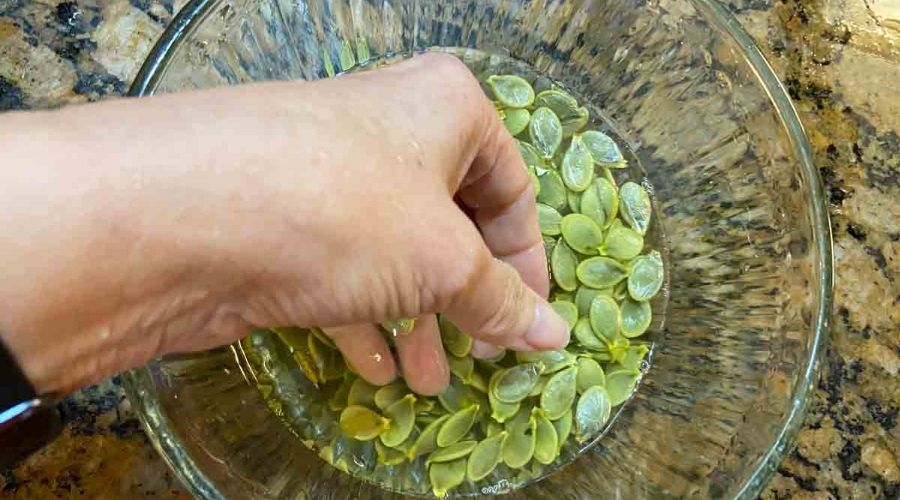
- Fill the Bowl with Water: Once you have scooped the seeds and pulp into the bowl, fill it with warm water. The seeds will float while the pulp tends to sink.
- Agitate the Mixture: Use your hands to gently agitate the mixture. Swirl the seeds and pulp around to help loosen the seeds from the pulp. This process helps the seeds rise to the surface while the heavier pulp sinks.
- Skim the Seeds: Use your hands or a slotted spoon to skim the seeds off the top of the water. Place the seeds into a colander or strainer.
- Rinse the Seeds: Once you have separated most of the seeds, rinse them under running water in the colander. This will help remove any remaining bits of pulp. You may need to use your hands to gently rub the seeds to get them completely clean.
Method 2: Manual Separation
This method involves manually separating the seeds from the pulp without water.
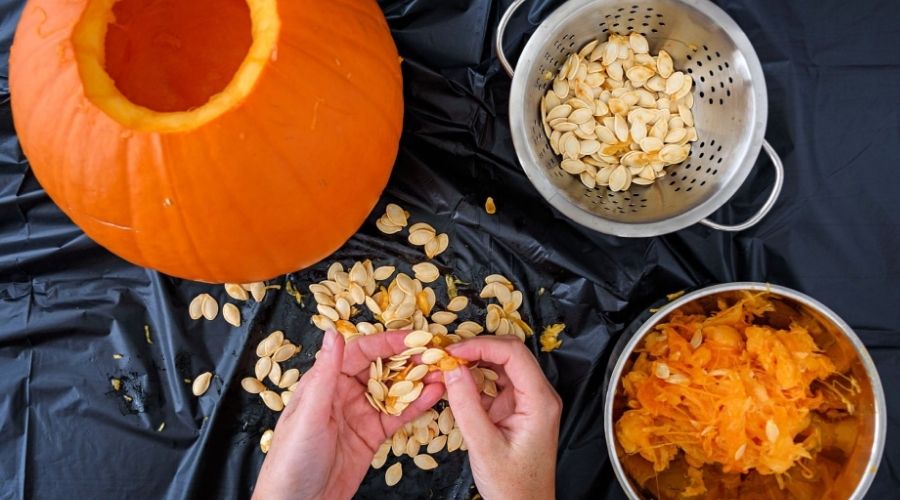
- Work in Batches: Take small handfuls of the seeds and pulp mixture. It’s easier to manage smaller amounts and ensures you can get all the seeds.
- Separate by Hand: Use your fingers to pull the seeds away from the pulp. This method can be time-consuming but allows you to be thorough.
- Rinse the Seeds: After you’ve separated the seeds from the pulp, place them in a colander and rinse under running water. Use your hands to help remove any clinging bits of pulp.
- Double Check: Once rinsed, check the seeds again to ensure they’re clean. Remove any remaining bits of pulp.
4. Dry the Seeds
Properly drying the seeds is crucial, especially if you plan to roast them.
- Spread the Seeds: Spread the rinsed seeds out on a clean dish towel or a layer of paper towels. Make sure they are in a single layer and not clumped together.
- Pat Dry: Use another towel or paper towels to gently pat the seeds dry. The drier the seeds are, the better they will roast.
- Air Dry: Allow the seeds to sit for a few hours to ensure they’re completely dry. This is particularly important if you plan to store them raw. Properly dried seeds will not mold.
5. Roast the Seeds
Once your seeds are dry, they are ready for roasting. Here’s a simple roasting guide:
- Preheat Your Oven: Set your oven to 300°F (150°C). A lower temperature ensures the seeds roast evenly without burning.
- Season the Seeds: Toss the seeds with a bit of olive oil and your favorite seasonings. Salt is a classic choice, but you can also try other spices like paprika, garlic powder, or even cinnamon and sugar for a sweet twist.
- Spread on a Baking Sheet: Spread the seasoned seeds in a single layer on a baking sheet. Ensure they are evenly distributed for uniform roasting.
- Roast the Seeds: Place the baking sheet in the oven and roast for about 20-30 minutes. Stir the seeds occasionally to ensure even roasting. Keep an eye on them to prevent burning.
- Cool and Enjoy: Once the seeds are golden brown and crispy, remove them from the oven and let them cool. Enjoy them as a snack or use them as a crunchy topping for salads and soups.
Separating pumpkin seeds from pulp doesn’t have to be a daunting task. By following these detailed steps, you can easily prepare your pumpkin seeds for roasting or storage.
Not only will you enjoy a delicious and nutritious snack, but you’ll also make the most of your pumpkins this season. Happy pumpkin prepping!
What is the best method to scoop out the seeds and pulp?
The best method to scoop out the seeds and pulp from a pumpkin involves the following steps:
- Prepare the Pumpkin: Start by cutting off the top of the pumpkin with a sharp knife to create an opening. If you’re using the pumpkin for cooking, you might prefer to cut it in half or into quarters.
- Use a Large Spoon or Ice Cream Scoop: A large spoon or an ice cream scoop works best for removing the seeds and pulp. These tools have a good edge for scraping the inside walls of the pumpkin.
- Scrape the Sides: Insert the spoon or scoop into the pumpkin and scrape along the sides to loosen the seeds and pulp. Make sure to get all the way to the bottom of the pumpkin to ensure you remove as much as possible.
- Collect in a Bowl: Scoop out the mixture and place it into a large bowl. Don’t worry about separating the seeds from the pulp at this stage; focus on getting everything out of the pumpkin.
Can I use water to help separate pumpkin seeds from pulp?
Yes, you can use water to help separate pumpkin seeds from pulp. This method is often considered one of the easiest and most effective ways to do so:
- Fill the Bowl with Water: Once you have scooped the seeds and pulp into a bowl, fill it with warm water. The seeds will naturally float while the pulp tends to sink.
- Agitate the Mixture: Gently use your hands to agitate the mixture in the water. Swirl the seeds and pulp around to help loosen the seeds from the pulp.
- Skim the Seeds: As the seeds float to the top, use your hands or a slotted spoon to skim them off the surface. Transfer the seeds to a colander or strainer.
- Rinse the Seeds: Rinse the seeds under running water in the colander to remove any remaining bits of pulp. Use your hands to gently rub the seeds clean if necessary.
This water method makes it much easier to separate the seeds from the pulp and ensures that the seeds are clean and ready for drying or roasting.
Can You Roast Pumpkin Seeds With Pulp Still On Them?
While it is possible to roast pumpkin seeds with the pulp still on them, it is recommended to remove as much of the pulp as possible before roasting.
Removing the pulp ensures that the seeds roast evenly and enhances their flavor.
Rinse the seeds well before roasting to remove any remaining pulp.
What Can You Do With Leftover Pumpkin Pulp After Separating The Seeds?
There are many ways to use leftover pumpkin pulp. You can make pumpkin puree for pies, soups, and other recipes.
It can also be added to smoothies or used as a base for a delicious pumpkin sauce.
Additionally, you can compost the pumpkin pulp for a natural fertilizer for your garden.
Is It Necessary To Dry Pumpkin Seeds Before Roasting?
Yes, it is important to dry pumpkin seeds before roasting them.
After separating the seeds from the pulp, rinse them thoroughly and spread them out on a clean kitchen towel or paper towel.
Allow them to dry completely, as excess moisture can prevent the seeds from becoming crispy when roasted.
Conclusion
With these simple steps, extracting pumpkin seeds from the pulp can be a breeze, allowing you
to enjoy the delicious and nutritious benefits of this seasonal snack without the hassle.
Whether you’re carving pumpkins for Halloween or cooking with fresh pumpkin, don’t let the fear of seed extraction hold you back.
With a little effort and the right technique, you’ll be enjoying crunchy, flavorful pumpkin seeds in no time.

