There’s nothing quite like the satisfying crunch of crispy bacon, but achieving that perfect texture can be a bit more challenging when working with thick-cut bacon.
Fortunately, with a few tips and the right techniques, you can turn even the thickest slices into crispy, delicious bites.
Whether you’re preparing breakfast, adding a savory topping to your favorite dish, or just craving a snack, this guide will help you make thick bacon crispy every time.
How to Make Thick Bacon Crispy: A Step-by-Step Guide

Step 1: Choose the Right Bacon
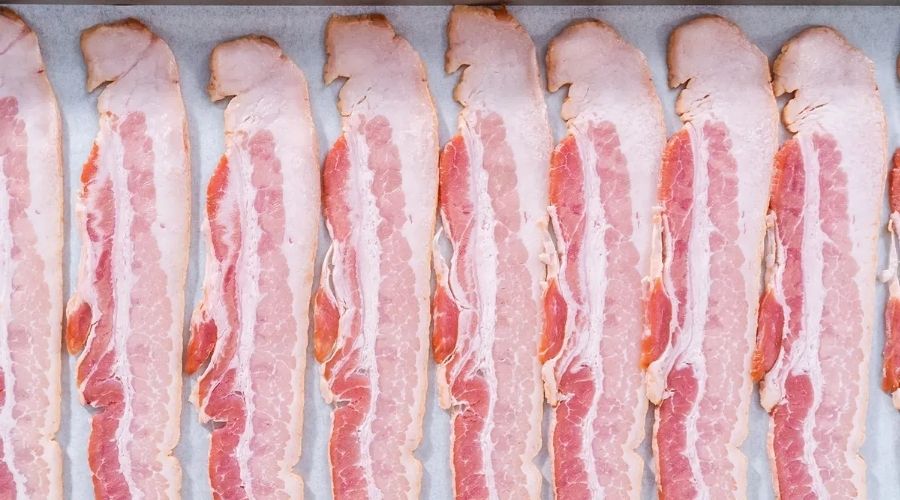
The first step to making thick bacon crispy is selecting the right kind of bacon. High-quality thick-cut bacon is essential for achieving the perfect texture.
When choosing your bacon, look for slices that have a good balance of meat and fat. The fat is crucial because it renders during cooking, helping the bacon become crispy and flavorful.
If the bacon has too much lean meat, it can become tough and chewy instead of crispy.

High-quality bacon often comes from well-sourced pork and has a better flavor and texture compared to cheaper options.
You can find premium bacon at your local butcher, specialty food stores, or even at the grocery store. When in doubt, ask for recommendations or look for brands known for their quality.
Additionally, check the thickness of the bacon slices. Ideally, thick-cut bacon should be around 1/8 to 1/4 inch thick.
This thickness allows the bacon to cook evenly, ensuring that it becomes crispy on the outside while remaining slightly chewy on the inside.
By starting with high-quality, well-balanced thick-cut bacon, you’re setting the foundation for perfectly crispy results.
This attention to detail in selecting your bacon will pay off in the final product, giving you delicious, crunchy bacon every time.
Step 2: Preheat Your Oven

Cooking thick-cut bacon in the oven is one of the most reliable methods to achieve a crispy finish.
Preheating your oven is a crucial step in this process because it ensures that the bacon will cook evenly and at the right temperature from start to finish.
Here’s a detailed look at why and how to preheat your oven properly for crispy thick bacon.
Why Preheat Your Oven?
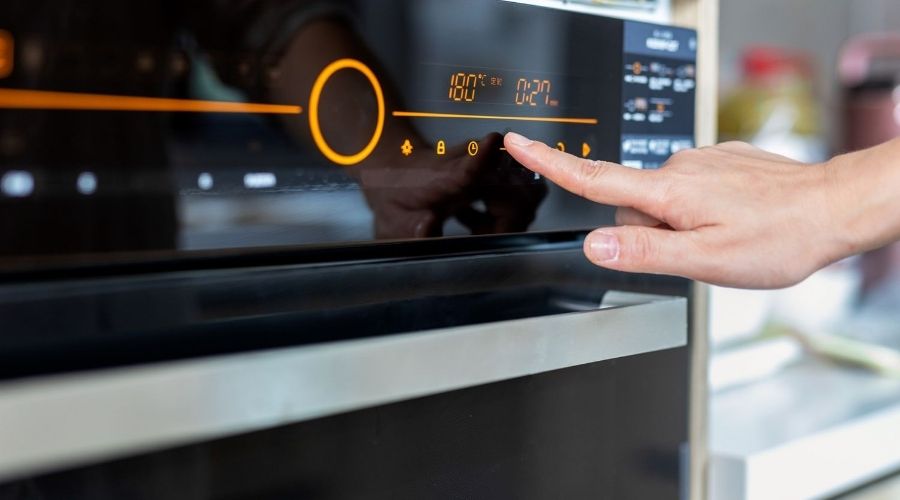
Preheating your oven to 400°F (200°C) is important because it provides a consistent cooking environment.
Unlike cooking bacon on the stovetop, where the heat can fluctuate and lead to uneven cooking or burning, the oven maintains a steady temperature.
This consistency helps render the fat more effectively, which is key to achieving crispy bacon.
When the oven is preheated, the bacon starts cooking immediately upon entering the oven, leading to a more even and predictable result.
How to Preheat Your Oven
Set the Temperature:
Begin by setting your oven to 400°F (200°C). This temperature is optimal for rendering the fat while also cooking the meat to a crispy texture.
Cooking at a lower temperature can result in bacon that is chewy rather than crispy, while a higher temperature might cook the outside too quickly, leaving the inside undercooked.
Position the Oven Rack:
Place your oven rack in the middle position. This ensures that the bacon receives even heat from all sides.
If the rack is too high or too low, the bacon might cook unevenly, with parts of it becoming too crispy or remaining undercooked.
Allow Adequate Time:
Give your oven about 10-15 minutes to fully preheat. This time can vary slightly depending on your oven model and how accurately it reaches the desired temperature.
Some ovens have a preheat indicator light or beep when the set temperature is reached.
If your oven does not have this feature, a basic kitchen thermometer can help verify when it’s ready.
Prepare the Baking Sheet and Bacon:
While the oven is preheating, you can prepare your bacon. Line a baking sheet with aluminum foil for easy cleanup and place a wire rack on top.
The wire rack allows the heat to circulate around the bacon, promoting even cooking and crisping.
Lay the thick-cut bacon strips on the wire rack in a single layer, ensuring they do not overlap.
Step 3: Prepare the Baking Sheet
Preparing your baking sheet correctly is a key step in ensuring your thick bacon turns out crispy and delicious.
Here’s a detailed guide on how to do it properly:
Line the Baking Sheet
Start by lining a baking sheet with aluminum foil. This serves two main purposes:
Easy Cleanup: The aluminum foil catches the drippings and rendered fat from the bacon, making cleanup a breeze. Once you’re done cooking, you can simply discard the foil, leaving your baking sheet clean and free of grease.
Even Heat Distribution: Foil also helps distribute the heat more evenly across the baking sheet, which aids in consistent cooking.
Add a Wire Rack
Place a wire rack on top of the foil-lined baking sheet. The wire rack is crucial for achieving crispy bacon because it elevates the bacon above the sheet, allowing hot air to circulate around each strip.
This even circulation is key to crisping up the bacon on all sides.
Why Use a Wire Rack?
- Air Circulation: Elevating the bacon lets air circulate around each strip, which helps render the fat and ensures the bacon cooks evenly and crisps up nicely.
- Less Grease: As the bacon cooks, the fat drips down onto the foil-lined sheet, preventing the bacon from sitting in its own grease. This helps avoid sogginess and promotes a crispier texture.
Alternative Without a Wire Rack
If you don’t have a wire rack, you can still make crispy bacon directly on the foil-lined baking sheet. Here’s how:
- Direct Placement: Lay the bacon strips directly on the foil in a single layer. Make sure the strips do not overlap, as this can cause uneven cooking.
- Flip Halfway: Because the bacon is in direct contact with the foil, you’ll need to flip the strips halfway through the cooking time to ensure both sides cook evenly and become crispy.
Step 4: Arrange the Bacon
Properly arranging the bacon strips on the wire rack or baking sheet is essential for even cooking and achieving that perfect crispiness. Here’s how to do it:
Lay the Bacon Strips
Lay the thick-cut bacon strips on the wire rack or foil-lined baking sheet in a single layer. Make sure the strips do not overlap or touch each other.
Overlapping can cause the bacon to cook unevenly, with some parts becoming too crispy while others remain undercooked.
- Single Layer: Ensure each strip of bacon is laid out flat. Overlapping pieces won’t cook evenly, and parts of the bacon will remain chewy rather than crispy.
- Spacing: Leave a little space between each strip to allow air to circulate freely around the bacon, promoting even cooking and crispiness.
Adjusting for Thickness
Thick-cut bacon can vary in thickness, so you might need to adjust the spacing and cooking time accordingly.
Thicker slices may need a bit more space between them to ensure proper air circulation and even cooking.
- Monitor the Bacon: Keep an eye on the bacon as it cooks, especially towards the end of the cooking time. Thick-cut bacon can go from perfectly crispy to overcooked quickly, so be ready to remove it from the oven once it reaches the desired level of crispiness.
Step 5: Bake the Bacon
Now that your oven is preheated to 400°F (200°C) and your baking sheet is prepared, it’s time to bake the bacon.
This method not only ensures even cooking but also makes the process relatively hands-off, allowing you to focus on other tasks while the bacon crisps up perfectly.
Place the Baking Sheet in the Oven
Carefully place the baking sheet with the arranged bacon strips into the preheated oven. Position it on the middle rack to ensure even heat distribution.
The middle rack is ideal because it allows hot air to circulate around the bacon, promoting uniform cooking and crisping.
Baking Time and Monitoring
Bake the bacon for 15-20 minutes. The exact time will depend on the thickness of your bacon and how crispy you like it.
Here’s a more detailed breakdown:
- Initial Check: Start checking the bacon around the 15-minute mark. This is especially important if you’re trying this method for the first time, as ovens can vary in their heat distribution and accuracy.
- Desired Crispiness: If you prefer bacon that’s crispy but not too brittle, 15-17 minutes might be sufficient. For extra crispy bacon, you may need to bake it closer to 20 minutes or even a bit longer.
- Visual Cues: Look for a deep golden brown color as an indicator that the bacon is reaching its peak crispiness. The edges should be crispy, and the fat should be rendered and bubbly.
Preventing Overcooking
To prevent the bacon from burning, especially towards the end of the cooking time, keep a close eye on it.
Bacon can go from perfectly crispy to overcooked very quickly. If you notice the bacon darkening too much before the time is up, you can reduce the oven temperature slightly or remove it earlier than planned.
Step 6: Flip for Extra Crispiness
For those who desire exceptionally crispy bacon, flipping the strips halfway through the cooking process can make a significant difference.
This extra step ensures both sides of the bacon are exposed to the oven’s heat evenly, resulting in a uniform crispy texture.
The Flipping Process
- Midway Timing: At about the 10-minute mark, carefully remove the baking sheet from the oven. This is roughly halfway through the estimated cooking time.
- Flip the Bacon: Using tongs, flip each strip of bacon over to expose the other side. Be gentle to avoid breaking or tearing the strips.
- Return to the Oven: Place the baking sheet back in the oven to continue baking. This second half of the cooking time allows the other side of the bacon to crisp up nicely.
Benefits of Flipping
Flipping the bacon ensures that the heat reaches both sides evenly. Without flipping, the top side of the bacon may become crispier while the bottom remains slightly softer due to direct contact with the wire rack or baking sheet.
This method is particularly useful for achieving a uniformly crispy texture throughout each strip.
Alternative Methods
If flipping the bacon halfway through seems cumbersome, another approach is to use a broiler for the last few minutes of cooking. Here’s how:
- Broiler Method: After baking the bacon for about 15 minutes, switch your oven to the broil setting. Broil the bacon for 2-3 minutes, keeping a very close eye on it to prevent burning. This method crisps up the top side of the bacon quickly and effectively.
Monitoring and Adjustments
Regardless of the method you choose, always monitor the bacon closely during the last few minutes of cooking.
Thick-cut bacon can vary significantly in its fat content and thickness, which means cooking times can differ.
Adjust as needed based on your oven’s performance and your desired level of crispiness.
By carefully baking and optionally flipping the bacon, you ensure an even, crispy result that enhances the flavor and texture of thick-cut bacon.
These steps help achieve the perfect balance between crunchy and tender, making your bacon irresistibly delicious.
Step 7: Check for Doneness
After baking the bacon for about 15 minutes, it’s time to start checking for doneness. This is a crucial step to ensure that your thick-cut bacon reaches the perfect level of crispiness without burning.
Visual and Textural Cues
To determine if the bacon is done, look for these key indicators:
- Color: The bacon should be a deep golden brown. This rich color suggests that the fat has rendered out and the meat has cooked thoroughly.
- Texture: The bacon should appear crispy, with edges that have curled slightly. If you lightly press on a strip with tongs, it should feel firm but not too brittle.
Checking Regularly
Since thick-cut bacon can go from perfectly crispy to overcooked quickly, it’s important to check it frequently once you approach the 15-minute mark:
- Initial Check: After 15 minutes, open the oven and carefully check the bacon. If it’s not yet crispy, close the oven and let it continue cooking.
- Frequent Monitoring: Continue to check the bacon every 1-2 minutes. This frequent monitoring helps ensure you catch the bacon at the perfect moment of crispiness.
Adjusting Cooking Time
If your bacon needs more time:
- Small Increments: Bake the bacon for additional 1-2 minute increments. This gradual approach allows you to achieve the desired crispiness without overcooking.
- Personal Preference: Adjust the total cooking time based on your personal preference for crispiness. Some people prefer bacon slightly chewy, while others like it very crispy.
Step 8: Drain the Bacon
Once your bacon has reached the desired level of crispiness, it’s time to remove it from the oven and drain any excess grease.
This step is essential for maintaining the bacon’s crispy texture.
Removing the Bacon
- Carefully Remove: Using tongs, carefully lift each strip of bacon off the wire rack or baking sheet. Be gentle to avoid breaking the strips.
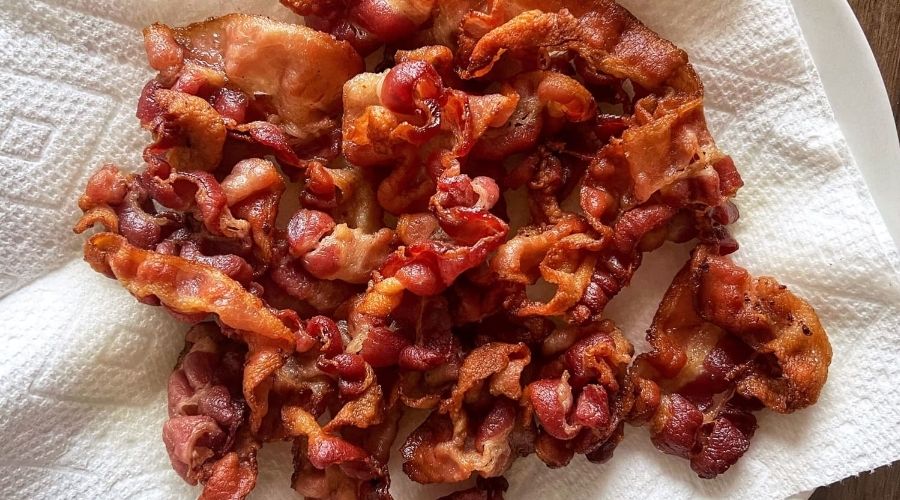
- Transfer to Paper Towels: Place the bacon strips on a plate lined with paper towels. The paper towels will absorb the excess grease, preventing the bacon from becoming soggy as it cools.
Step 9: Serve and Enjoy
Now that your thick-cut bacon is perfectly crispy, it’s time to enjoy it. Here are some serving suggestions to make the most of your delicious bacon:
Classic Breakfast
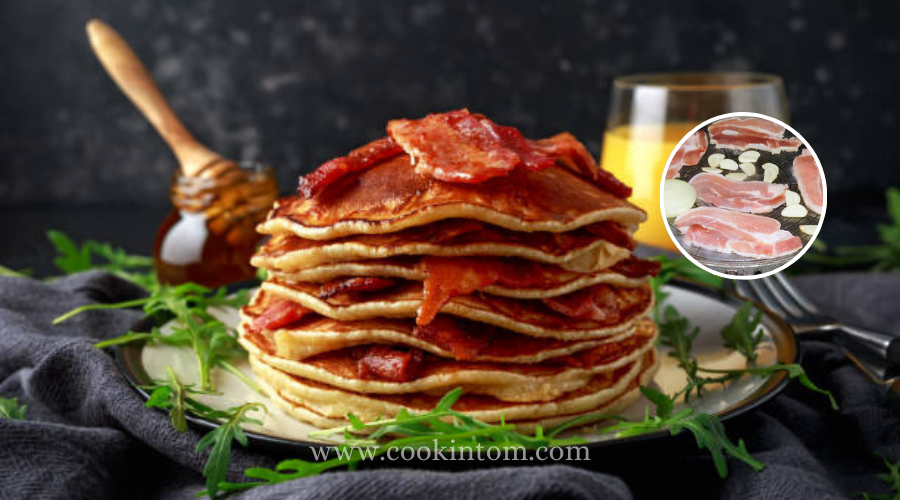
- With Eggs and Toast: Serve the crispy bacon alongside scrambled, fried, or poached eggs, and a slice of toast. Add some fresh fruit or hash browns for a complete breakfast.
- Breakfast Sandwich: Create a hearty breakfast sandwich with crispy bacon, eggs, and cheese on a toasted bagel or English muffin.
Salads and Appetizers
- Salad Topping: Crumble the bacon over a fresh salad for a savory crunch. It pairs well with greens, tomatoes, avocado, and a tangy vinaigrette.
- Appetizers: Wrap the crispy bacon around dates or asparagus spears for a tasty appetizer. Secure with a toothpick and serve warm.
Main Dishes
- Burgers: Top your favorite burger with a few strips of crispy bacon for added flavor and texture.
- Pasta: Add crumbled bacon to creamy pasta dishes like carbonara or macaroni and cheese for a smoky, crispy element.
Snacks and More
- Bacon Bits: Store leftover crispy bacon in an airtight container and use it as a topping for baked potatoes, soups, or even popcorn.
- Standalone Snack: Sometimes, crispy bacon is best enjoyed on its own as a savory snack.
By following these detailed steps, you can ensure that your thick-cut bacon turns out perfectly crispy every time.
Enjoy your delicious bacon as part of a hearty breakfast, a tasty topping, or a satisfying snack!
Can You Make Thick Bacon Crispy?
Yes, you can make thick bacon crispy by using the oven method.
Cooking it at a slightly higher temperature for a longer time can help render the fat and achieve a crispy texture.
Adjust the cooking time to your preference, keeping a close eye on it to prevent burning.
What Is The Best Way To Cook Thick-cut Bacon?
The best way to cook thick-cut bacon is in the oven.
Preheat the oven to 400°F, place the bacon on a baking sheet lined with parchment paper, and bake for 15-20 minutes, flipping halfway through.
This method allows the bacon to cook evenly and become crispy without excessive fat splattering.
Conclusion
Mastering the art of making thick bacon crispy is a skill that any bacon lover can appreciate.
By following these simple tips and techniques, you can achieve perfectly crispy bacon every
time, elevating your breakfasts, sandwiches, salads, and beyond to new heights of deliciousness.
So go ahead, fire up that skillet, and get ready to enjoy the crispy, savory goodness of thick bacon done right!

